Moving takes a lot of time and careful preparation. From organizing everything to packing. And you sometimes need to disassemble some of your larger items in order to move them. One of the harder things to do during this process is disassembling a pool table. You not only need the right tools, but also a certain set of skills. But, with some time and effort, you can do it all by yourself. Here is a short guide on how to do it.
Moving a pool table
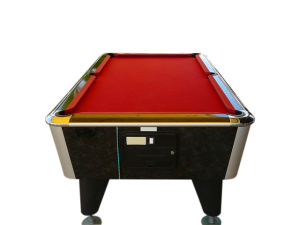
Moving a pool table is not as straightforward as it might seem. They are heavy, clunky and very delicate. More often than not, disassembling a pool table will be necessary in order to get it out of the door. So, it’s often advised to hire a proper pool table movers NJ for the task. They have the proper tools and skills to do it without damaging the table. But, you can also do it on your own.

You will probably need to disassemble moving table to get it through the door
Is disassembling a pool table on your own a smart choice?
As we already discussed, disassembling a pool table requires skills and tools in order to do it properly. But, if you don’t have access to people who can do it for you or want to do it by yourself, you certainly can. That way, you can save money on professionals for the disassembly and simply hire movers Glen Rock NJ to transport it. But, in this case, you need to be very careful. Pool tables are expensive. And you want to proceed slowly and carefully in order to avoid damaging it. Likewise, if you are not sure if you can do it properly. Or if you don’t have the right tools, it might be better to leave it to the professionals.
Do you need to disassemble your pool table?
Since it requires a lot of time to disassemble, you are probably wondering if it’s necessary. While it’s sometimes not necessary to do it, it’s still recommended. Even when moving locally in NJ. You will not only be saving valuable space in the moving truck. But you will also be better at protecting your pool table.
The process of disassembling a pool table
Before you begin disassembling a pool table, it’s very important to go through the manual. If you’ve assembled it by yourself. Or watched other people do it, you will have a general idea. But if not, first find all the screws and inspect how the table is put together. Whether you play it for fun with your friends or training for a pool championship – you don’t want to cause damage to your table. Uneven table or wrinkles in the felt can make it all but unusable.

Take your time and carefully study your pool table if you want to disassemble it on your own
Start with removing the pockets when disassembling a pool table
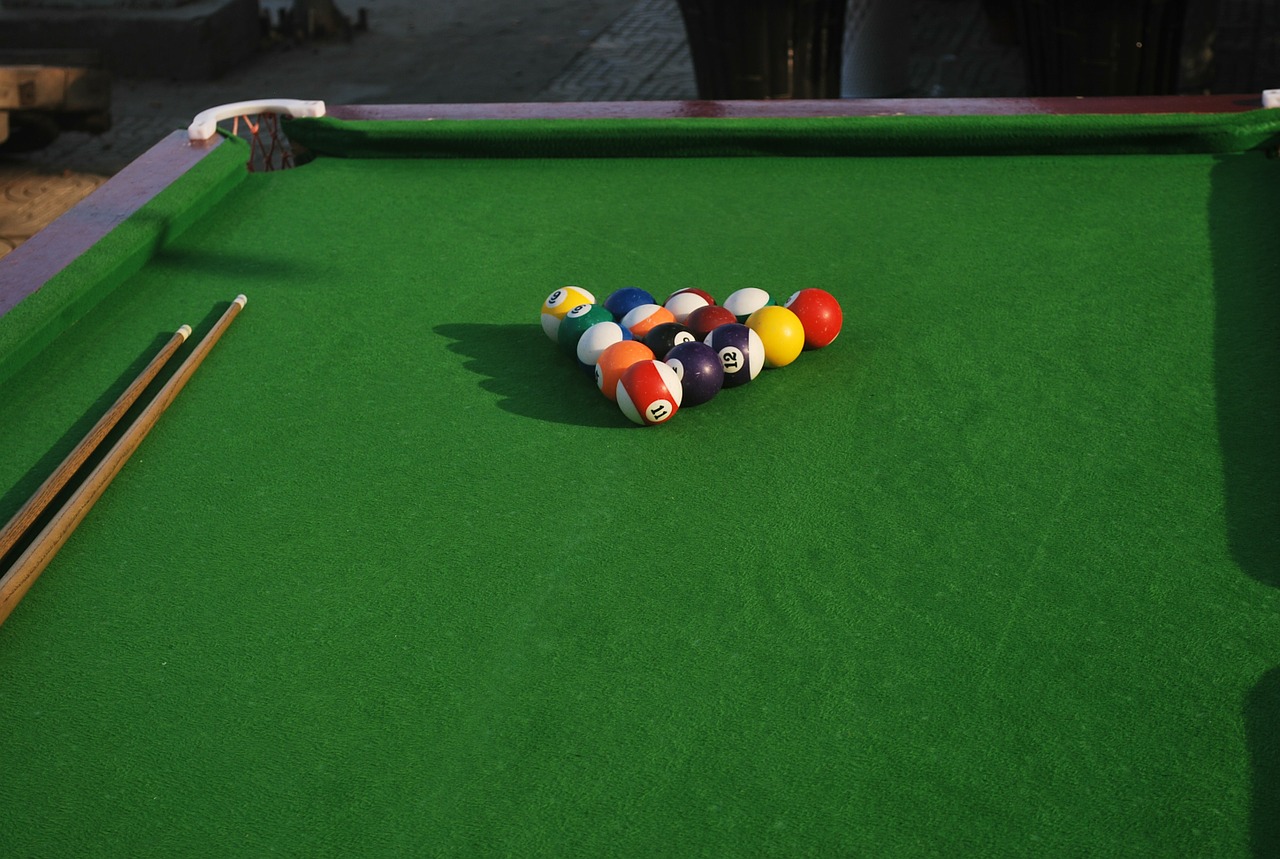
When disassembling a pool table, you need to start from the top. And the first thing that you should do is remove the pockets. Remove the liners if there are any and proceed to disassemble the pockets themselves. They are either screwed or stapled to the table. You should be very careful here in order to not damage the table. For this, and other steps of disassembly, you will need some tools. So, make sure to leave packing your tool shed for last. So, take a staple remover, or, if you don’t have it, a flathead screwdriver and slowly take out all the staples. You can leave the pockets in place for now.
Remove the rails
The next step when disassembling a pool table is to remove the rails. Locate the rail bolts underneath each rails. There are usually three of four of them for each rail. Then, use a socket wrench to unscrew and remove them. It’s important not to force the rails. If it’s not coming off, you might have missed a bolt or two. Removing the rails might be a little more difficult at the corners. So, with the help of a friend flip them onto the table with care. After removing the rails and pocket set them aside. And take care not to bash the side pockets.
Carefully detach the felt when disassembling a pool table
Next comes the tricky part. You need to detach the felt from the slatted bed. It’s usually either stapled or glued. And you need to go slowly in order to avoid tars. If the felt is glued you need to carefully pull the edge backward. And go very slowly. If it’s stapled, it’s a bit easier. But you still need to be very gentle.

Be careful when you are removing felt, so you don’t ruin your pool table
After you’ve removed it, fold it carefully without pressing the fold lines. And if you are packing it for storage, double-check if all the staples are properly removed. Otherwise, they might press into the fabric. And cause permanent damage.
Removing the slates
The next step is to remove the slate screws. They are usually located at the corners, but could also be along the center beam as well. Make sure to remove any beeswax or putty you find over the screw. That way you get to the screw heads without scratching the slate. To remove this easier, take your relocation tools and use a power drill to unscrew them. It will make it quicker and easier. And there will be less chance of your hand slipping and scratching the table. Next, with the help of a friend, lift each slate and place it to the side. Most tables are made out of three slate slabs. And they can be pretty heavy. If your table has only one slate, make sure to enlist the help of more than one friend. As a one-piece slate can weigh up to 800 lbs.
The last step is to disassemble the frame
The last step when disassembling a pool table is to take the frame apart. Flip the table over and unbold the legs. They are usually screwed in with bolts. And you shouldn’t have much trouble disassembling them. Again, don’t force anything. And that’s it. You are ready to take your pool table anywhere. Be it a short distance or a long distance relocation. You will be able to properly protect it from transport damage. And it will be much easier to load it and secure it in a moving truck.


